Dear Debbie;
I am learning how to paint with glazes and love the hints of colour you get when you add a layer of glaze over colour. I’m trying a gingham pattern in the nursery and taping like mad. Around the taped edges and corners I am getting an uneven appearance on the wall. Is there any way around this? Thanks for all your guidance.
— Sandor
Dear Sandor;
You have discovered the beauty of glazing liquid! Adding glazing liquid to paint turns the colour from opaque to translucent; the translucent coloured glaze allows the opaque base coat to peak through, giving you that luminous layered look. Speaking generally, there is a trick to applying an even coat of paint or glaze… you must keep a wet edge. Here’s how. Work on one wall at a time and mask along the corner of the adjoining wall with low-tack painter’s tape. This prevents a buildup of paint/glaze along the edges. Brush or roll the glaze onto an area of about 3 feet by 3 feet. Then work the glaze to achieve the desired effect. Immediately apply the glaze to the next section overlapping about an inch along the edge just worked. This is known as the wet edge, if this edge dries, a seam forms in the paint, creating a line. Water-based paint dries quickly. Mixing water-based glazing liquid into the paint slows down the drying time, but you must still work quickly in order to keep that wet edge and avoid seams. Allow the finished wall to dry, then remove the tape and cover the finished painted corner to protect it as you move around the room. To avoid paint and glaze buildup at corners and edges around trim, brush away from the edge inward toward the wall.
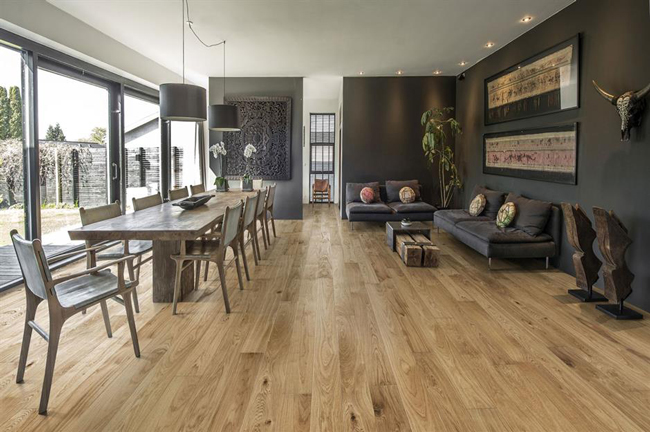
To create a gingham pattern as seen here mix two blue glazes, one more transparent than the other. The vertical stripes are 1 part blue paint to 3 parts glazing liquid. The horizontal stripes are 1 part blue paint to 4 parts glazing liquid. Measure and tape off vertical stripes over a dry white base coat. When the tape is on you will see thin and thick widths. Fill in the wider stripes with 1:3 blue glaze. Remove the tape and let dry overnight. Measure and tape off the horizontal stripes and apply 1:4 blue glaze with a roller. It needs to be applied very smoothly in several sweeps. Feather into the corners with a brush. You don’t want to see roller marks.
Dear Debbie;
The ceiling in our condo is very uneven where it meets the top of the walls. We are painting both and would like to know how to make the top edge neat. The ceiling and walls are different colours … pale blue ceiling and lilac walls.
— Francesca
Dear Francesca;
This is a common challenge. An uneven edge will catch the eye and ruin your professional paint job. Paint the ceiling first. Run tape along the top of the walls ¼ inch down from the ceiling. Bring the ceiling paint down to the tape. This will give you a straight line along the top of the wall. Wait 24 hours for the ceiling to dry. Retape along the ceiling edges down to the straight line and paint the walls. This is also a good trick for painting along the edges of trim and baseboards that haven’t got a clean edge.