Dear Debbie;
We have some dressers and bookcases that we bought when first married. They were inexpensive and served their purpose at the time. We don’t want to throw them away and hope you have some ideas on how to change them up. Thank you.
— Bev and Ron
Dear Bev and Ron;
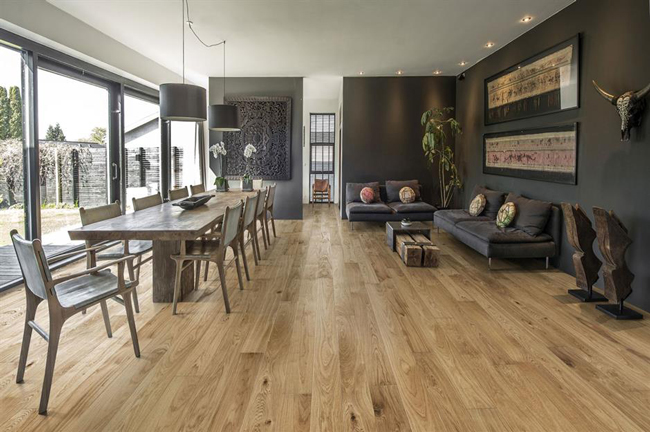
Start by examining your old furniture pieces. Are they still structurally sound? If not, can you fix them? Problems such as wobbly legs or missing screws can usually be repaired or replaced. Definitely don’t throw them away. If you decide to replace them, then look for an outlet to have them recycled into another home. However, you have plenty of options for giving them new life. There is great satisfaction in this project.
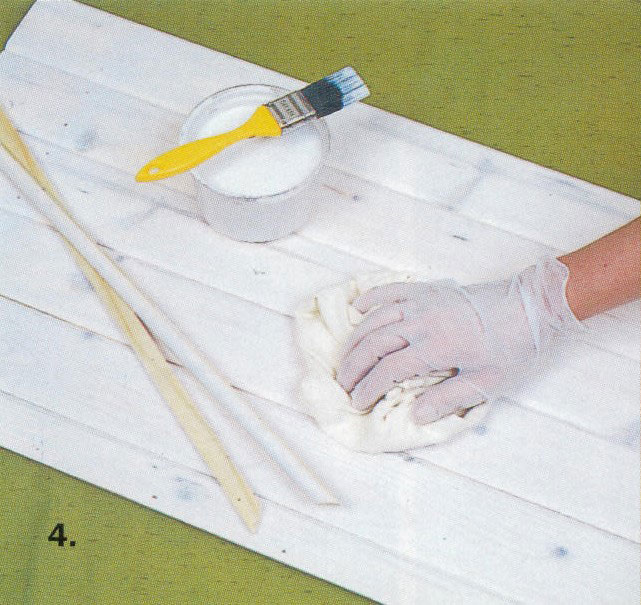
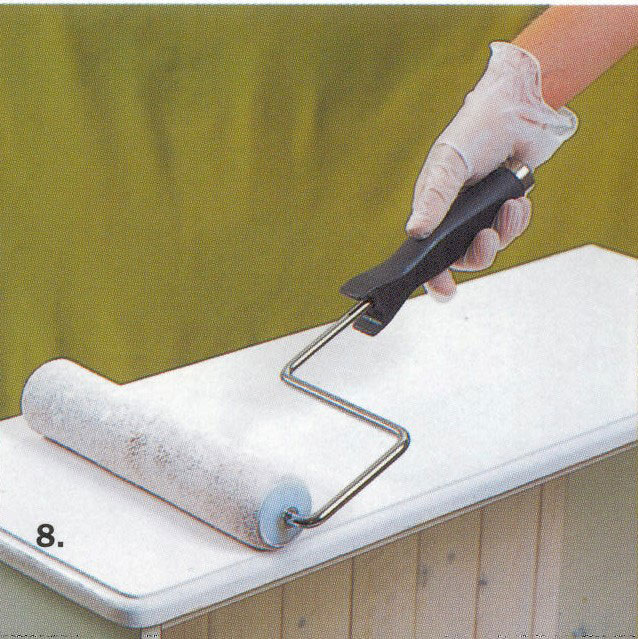
The simplest solution is paint. Dresser tops or shelves may be marred, but this is easy to cover up. Look for paint that is designed to cover slippery surfaces or use a good paint primer. Give the piece two solid coats or be adventurous and add some graphic design. Alternate colours, apply stripes or stencil on a motif.
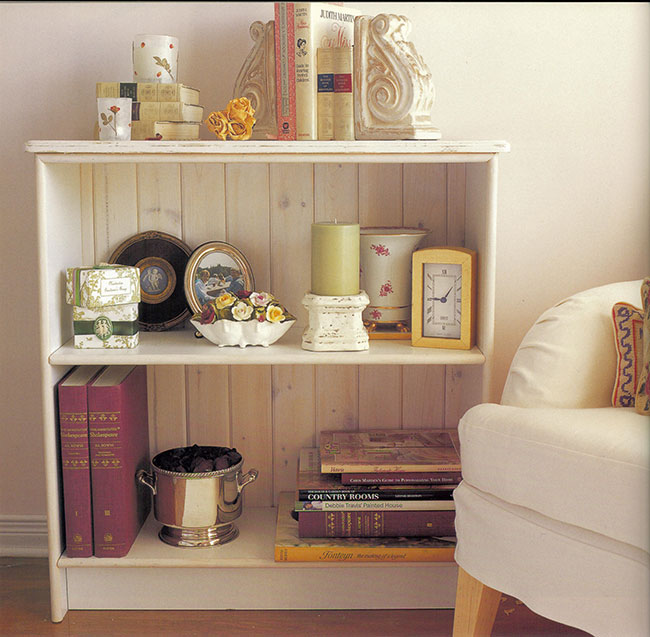
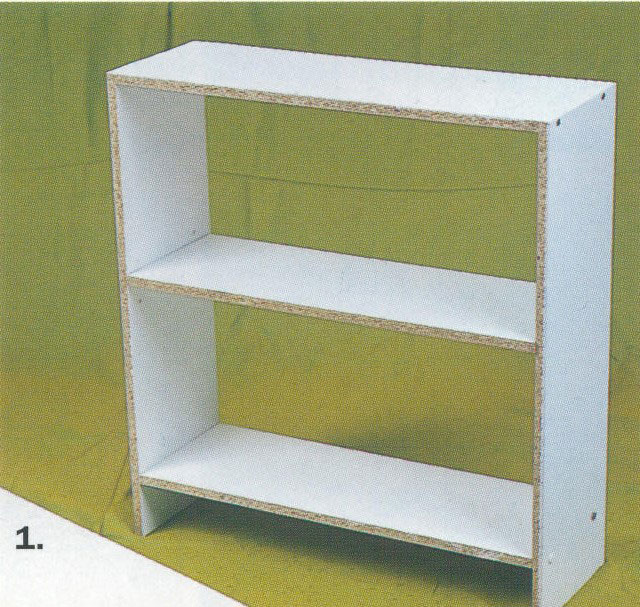
You can also build up the look by adding new boards and trim. I transformed the bookcase shown here with trim, wainscoting and paint. I removed the back from the laminate shelves, cut the wainscoting to fit the back of the unit, cut trim moulding to fit the front and side edges of the shelves, and mitered the corners. The top was built up with a decorative plank. This can be the same size or slightly larger than the original top it is covering. To seal the new wainscoting, mix a glaze equal parts paint and glazing liquid. Wash the coloured glaze over the top of the wainscoting and the trim pieces with a rag. Let dry. Attach the glazed wainscoting to the back of the unit with nails at top and bottom. Attach the board to the top with nails at each corner. Apply two coats of paint to the new top. Nail the trim to the side and front edges. For a neat, professional look countersink all the nails, fill and paint the tiny holes.
Dear Debbie;
I am having a problem with removing painter’s tape. Either the paint seeps under the tape or when I am removing the tape it pulls off or blurs the fresh paint. Do you have any suggestions? Also when I painted over a striped cabinet door the ridges showed. I’m frustrated but love fixing stuff up. Help.
— Jeannie
Dear Jeannie;
Let’s start with how to use painter’s tape successfully. Choose the right tape for the job. There are various adhesive strengths and you don’t want it too sticky or it will pull off the existing paint. Make sure the surface you are taping is clean and smooth. If the wall surfaces is bumpy, paint will seep underneath the uneven bits. You may need to sand. Tape a straight line and press along the edge with your fingertips to ensure it is solidly stuck on. Remove the tape when the paint is almost dry. Pull the tape toward itself. If the paint has dried or you have applied more than one coat run a razor blade or knife under the edge, slip it under the seal to avoid gouging your wall.
Stripes are a fun way to decorate a wall or furniture. However, ridge lines between the stripes are unavoidable. To get back to a smooth surface, shave the high edges with a putty knife, holding it flat so that you don’t gouge the surface. Then use a palm sander to completely remove the ridges. Clean away the dust and wipe down the surface before you apply your fresh paint.