September is often a month for moving, changing your living arrangements to be close to school, a new job, perhaps to live in a new town or city. Even with the pandemic, and made more complicated because of it, many people find themselves renting a place to call home. It is important to bring some of your personality into this new space so that it feels welcoming and comfortable for you. However, there are decorating dos and don’ts that have to be followed in order to stay on friendly terms with the landlord. Here are some ideas that will update walls and floors and can be removed easily when you leave.
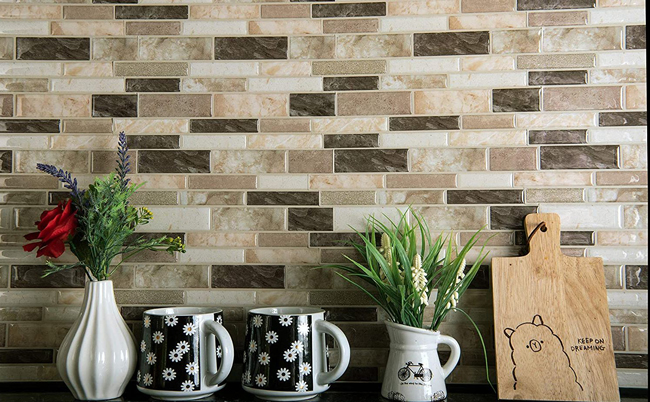
Your new best decorating friend could be peel and stick tiles and decals. If that kitchen backsplash is less than appealing, no need to put up with it. Peel and stick tiles come in a rich array of colours and designs and are easy to place. The Stiquick tiles shown here are reminiscent of natural stone; available in 10”x10” sheets and resistant to heat and moisture. They will not mar the original backsplash and peel off easily.
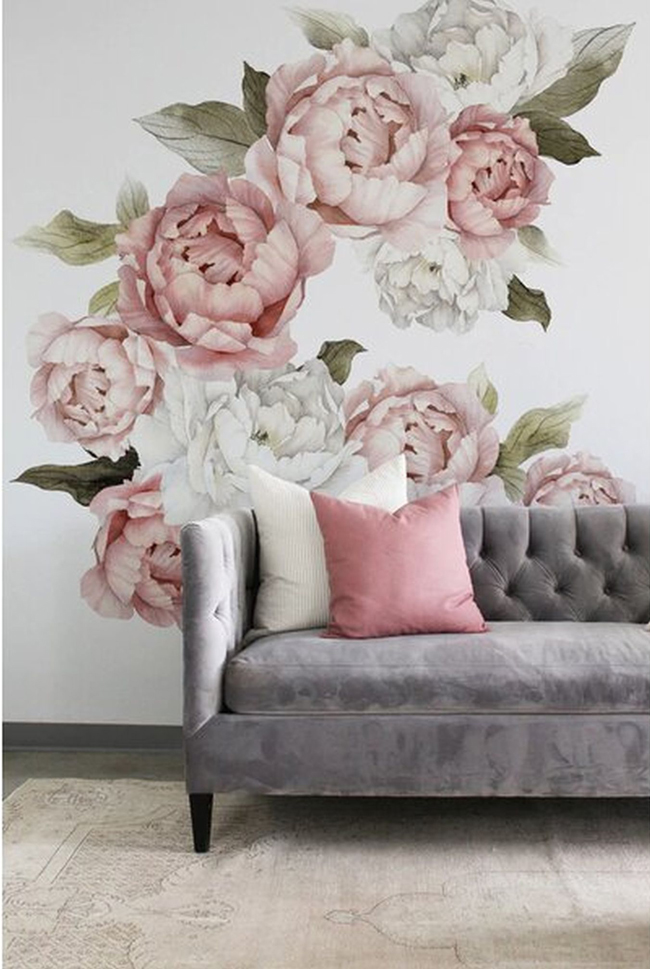
Paint is a decorator’s best tool for instant transformations, but if that’s not allowed, check out the fabulous selection of decals sold on line and at retail stores today. They too are peel and stick and come in kits. Blushing Peonies from Urban Walls shows how you can apply an artist’s touch to your living room or bedroom walls. The kit comes with 12 separate peonies ranging in colour from faded white, dusty rose pink and light pink. 20 leaves complete the picture. You arrange the bouquet and enjoy the fresh spring atmosphere.
There are also peel and stick tiles for floors when a rug won’t do the trick. Freshen up the bathroom or kitchen floor with a black and white checkerboard design or add some fun with colourful decals. It’s all about camouflaging the faults and living with a look that is yours.
DIY headboards have been getting a lot of attention and with good reason. You can fashion your own, cut any width and height and make it in sections so that it is easy to move. Bonus … it does not have to be attached to the wall. Start with lightweight MDF and choose an option. Apply padding to the front side and upholster with a stunning fabric – soft velvet, silky satin, rugged corduroy and natural linen are all good choices. Your pattern and colourway will naturally enhance the room and afford ideas for sheets and accessories. An easier plan would be to paint it – go graphic, stencil or stamp a scene. Wallpaper also good. A DIY board like this is also a great solution for dressing up a wall behind the couch or in the eating area. They can also be hinged together to make a room screen.
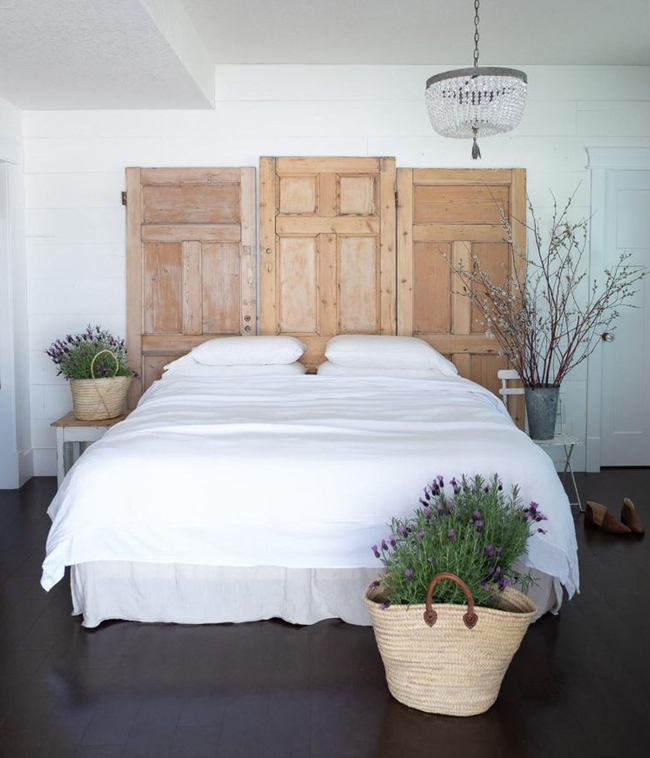
I have often used old doors I found at recycling yards to create headboards and screens. I find the age, style and detailing on these doors appealing. They can be cleaned up and stripped of old paint, repainted if you like or left in their found state. I came across a headboard hack from Vintage Society Co. shown here using old doors and can feel the welcome country ambiance enhanced by baskets of wildflowers.
Enjoy rental living and even if it is just for a short period put your temporary touches on the place, ready to move to your next port of call when it’s time.